First-Time Buyer: 10-Step Plan for Buying Your First Home
The first piece of advice anyone gave us about buying a house was: “Just start saving.” That’s terrible advice. Buying a home for a First-Time Buyer feels like stepping into a financial maze without a map, especially in the current Canadian market. What really worked for us wasn’t just saving, it was having a clear, step-by-step strategy that treated the entire process like a project.
Here is the exact 10-step system we followed to secure our first home—including the mistakes we made and the hidden costs we had to cover for a first-time buyer.
Part 1: The Non-Negotiable Financial Foundations
Step 1: Get Pre-Approved for a Mortgage (First)
Before you start seriously house hunting, you’ll need a mortgage pre-approval. You can go through your bank or, better yet, a private mortgage broker. We were referred to Tyler MacLellan at Advisory X, and after asking around, we trusted him and his team to walk us through it all.
Mortgage brokers shop around for the best rates and do the heavy lifting for you. We ended up pre-approved through First National LP at 4.69% — better than anything our bank could offer at the time. Tyler was super helpful, explaining every step and making us feel confident as first-time buyers.
Step 2: Get a Real Estate Agent (Seriously)
Even if you’re considering a private purchase, my first piece of advice is this: talk to a real estate agent. Ours was someone who had helped other family members, so we knew we could trust him. Agents usually work on commission, so they’re motivated to help you buy — and more importantly, to guide you through every step. They’ll ask what kind of house you’re looking for, take down your info, and set you up in a system that alerts them when a matching property hits the market.
Step 3: Know Your Budget
Once you’re pre-approved, you’ll know what you can afford. We were approved for $415,000, on the condition that we declare common law status when moving in, to be counted as a household income. This protects both people in the event of a breakup since we are just dating and not married — like a prenup, but for mortgages.
Your real estate agent will use your pre-approval amount to filter properties within your budget and preferences.
Part 2: The Strategic Hunt & The Down Payment Dilemma
Step 4: The Down Payment Formula: We Saved $30,800
This isn’t pocket change, but it’s a non-negotiable step. We had to come up with $15,400 each. We made it happen by cutting back on extras, setting up automatic savings transfers, and getting ruthless with our budgeting. It wasn’t always fun, but having a deadline and a clear goal helped keep us focused.
(I’ll be writing a full post soon that breaks down exactly how we budgeted and saved for this — stay tuned if you’re trying to save for your first place too!)
Step 5: House Hunting and Ditching the “Starter Home” Myth
A lot of people will tell you to look for a “starter home,” but honestly, the idea of a starter home has changed. In the current market, even a modest 3-bed, 1-bath bungalow can cost $400k. We didn’t want to grow out of our house in a few years — we wanted to grow into it.
We toured homes and found that most of what we saw was overpriced, needed a ton of work, or just wasn’t going to suit us long-term.
Step 6: How We Found Our Home (Hard Work Meets Good Timing)
This part was a blend of hard work and a small piece of luck. We were actively in the market and had done the preparation, but what sealed the deal was a connection. Rachel’s dad got a call from a client who wanted help painting a home he was planning to sell. He preferred to sell privately to someone he could trust — and that led us to our future home.
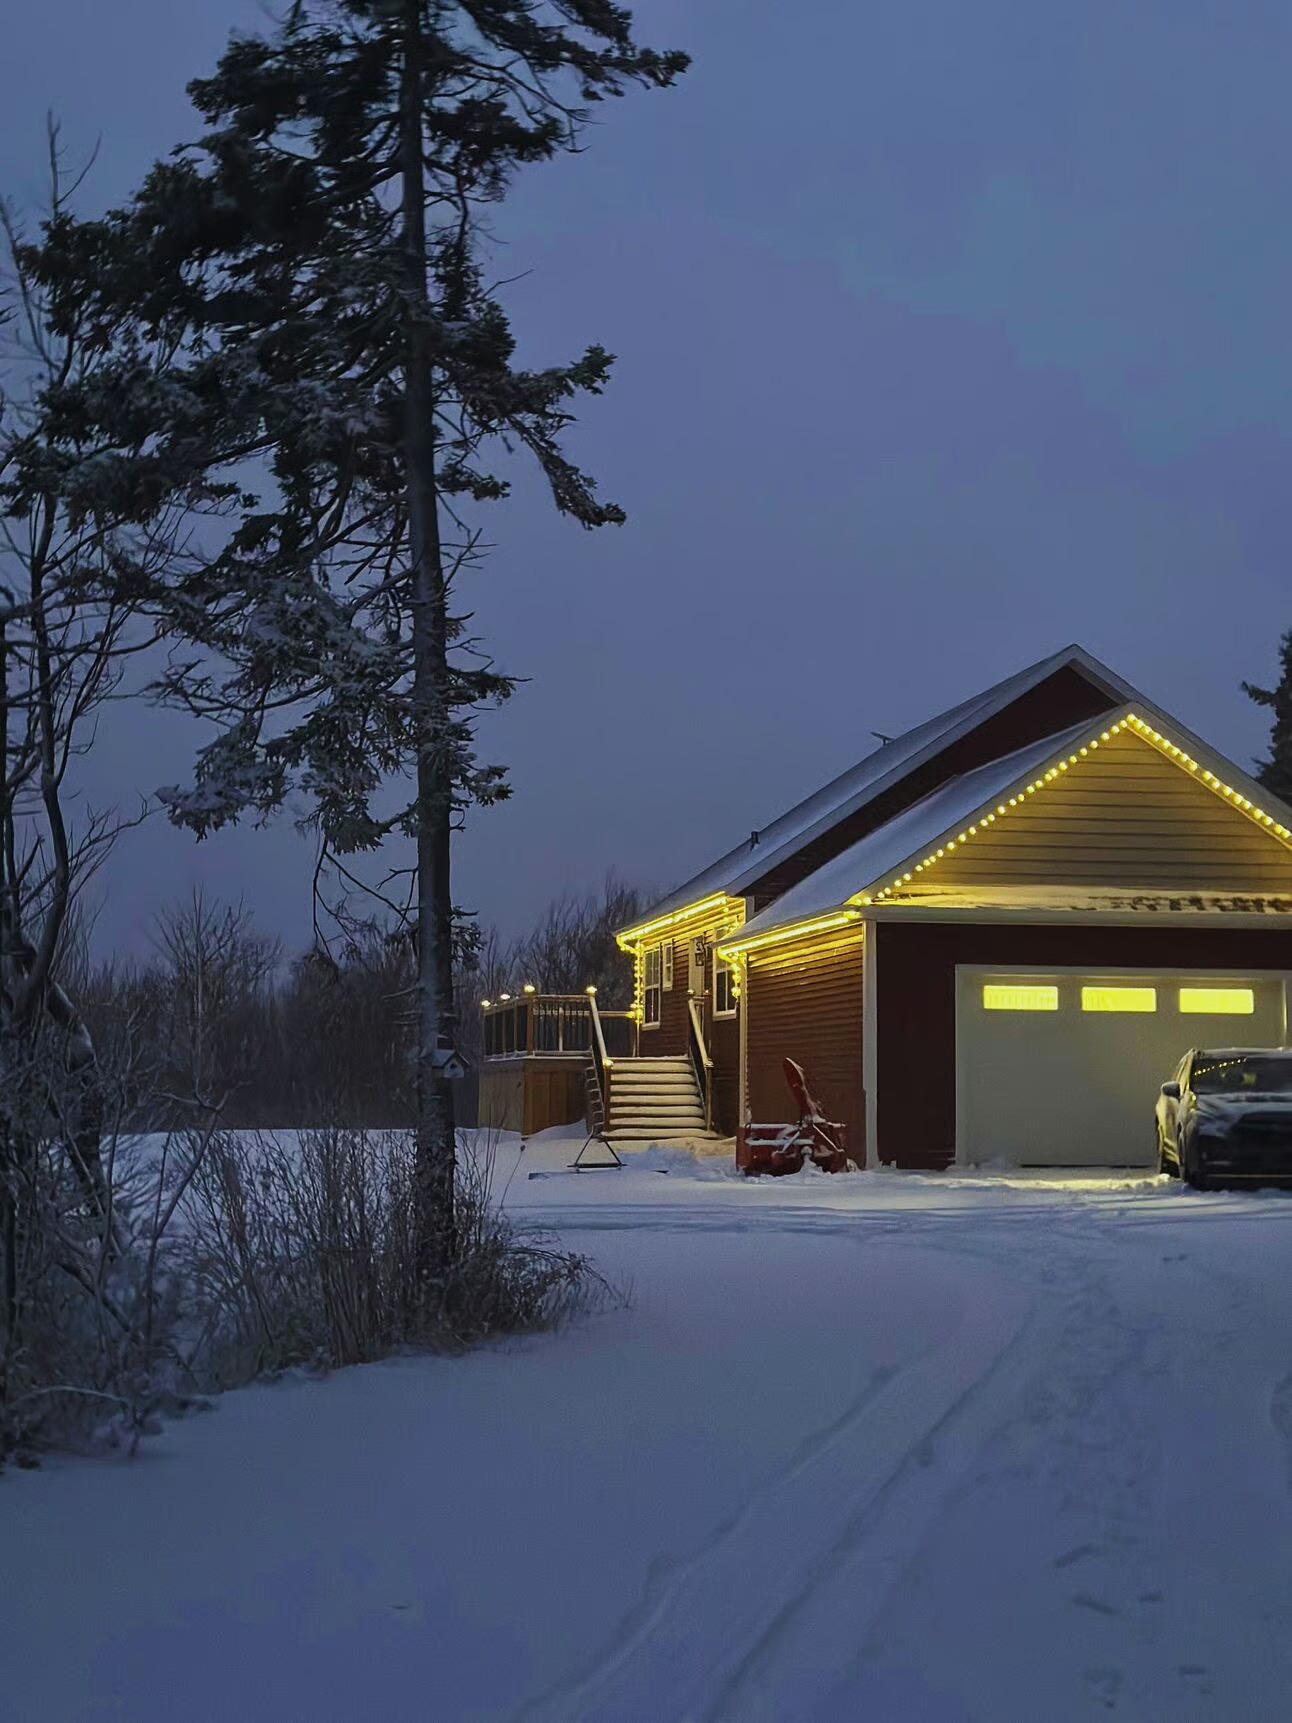
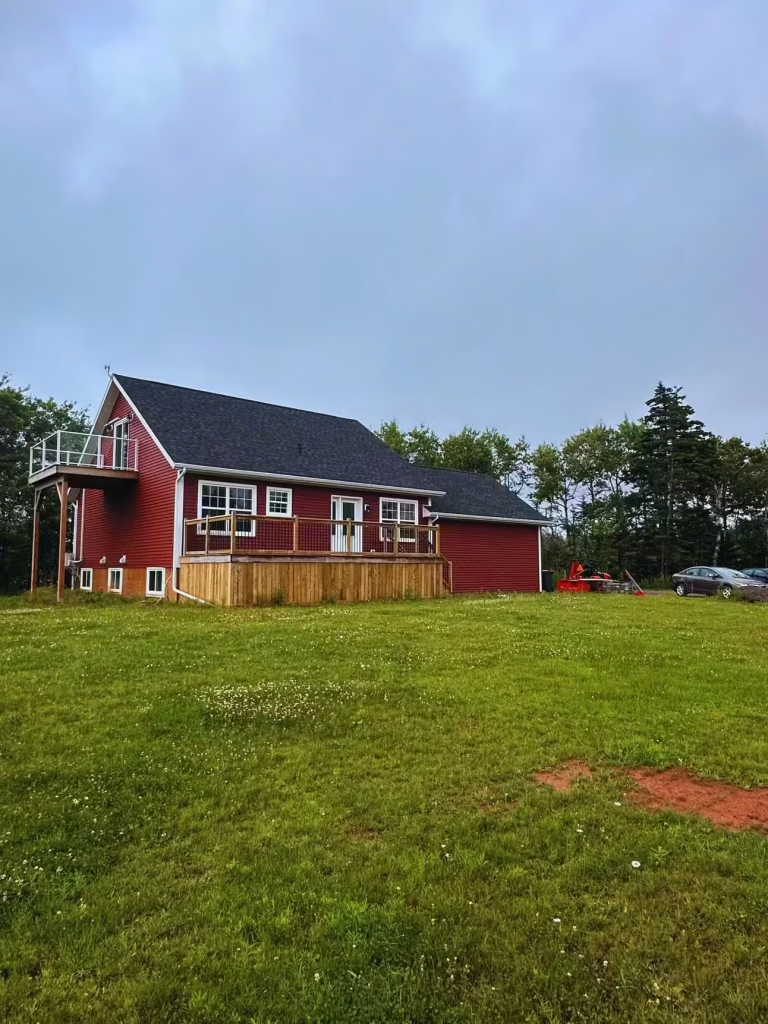
It checked every box: 4 bedrooms, 3 bathrooms, 3,000 sq ft, 3 acres on the water, and space to grow. It was well over our initial budget at $440,000, but with our broker’s help, we found a way to make the numbers work. Yes, the basement is unfinished, but the potential was worth the extra effort.
Part 3: The Closing Process & Protecting Your Investment
Step 7: Making an Offer and Getting Legal Help
Once you’ve agreed on a price, it’s time to get lawyers involved. If you’re working with an agent, they’ll guide this part. Otherwise, you’ll need to find a lawyer and sign an official offer of purchase. You’ll also need to submit a deposit — usually $1,000–$5,000 — to show you’re serious. At this stage, your closing date will also be set.
Step 8: Book a Home Inspection (The Non-Negotiable Cost)

You need to arrange a home inspection before finalizing anything. It’s your responsibility to pay for it, but it’s well worth the cost. Inspectors will point out things you missed. In our case, the house was unfinished, and the inspector helped us add conditions to our offer, like holding $5,000 until certain work was completed. That saved us a lot of stress.
Step 9: Final Mortgage Approval (The Stress Test)
Just because you’re pre-approved doesn’t mean you’re fully approved. Once your offer is accepted and inspection is done, go back to your mortgage broker or bank and finalize your loan. Lenders may reassess the property and decide it’s not worth the loan, so don’t wait on this step.
Step 10: Mortgage Insurance vs. Term Life Insurance (Protecting Your Future)
If you can’t put down 20%, your lender will require mortgage insurance. This protects them, not you. The savvy alternative is term life insurance. We opted for term life insurance instead. If something happened to one of us, the policy would pay off the mortgage. It’s a financial safety net and a potential bonus down the road.
Final Thoughts: The Power of a Process for the First-Time Buyer

Buying a home in the current Canadian market isn’t solely about luck; it’s about establishing a strategic, step-by-step process that positions you to take advantage of good timing when it arrives. It was daunting, expensive, and stressful, but by breaking it down into these ten manageable actions, we made the impossible possible. You can too.
I hope this post makes you feel confident and less overwhelmed about taking your first step toward long-term goals.
Which step are you struggling with the most right now? Drop a question in the comments!
Cheers for reading! ~ Alex


 English